 Sergio Carracedo
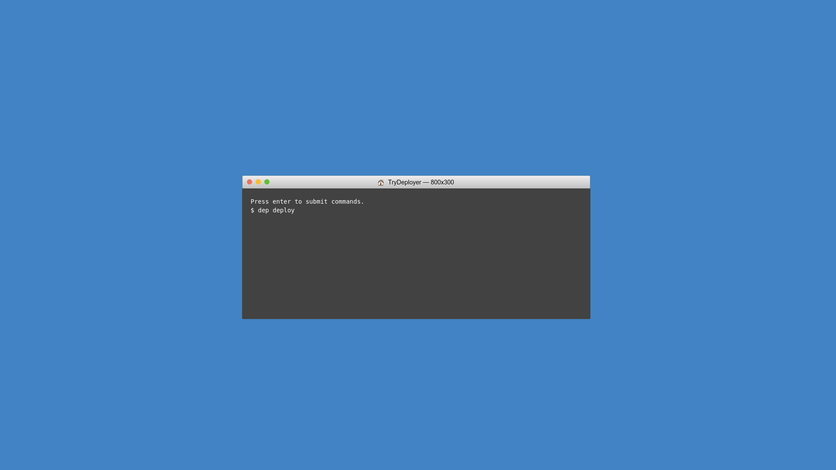
From the moment we put a system into production and need to maintain the code or continue development, a tedious task arises: uploading changes to the production server. We usually do this using FTP, through which we upload the modified files. But therein lies the “problem”: in many cases, knowing which files have been modified (although we can do this using git and comparing commits to get a list of changed files), and once we know them, we must manually upload the modified files.
This is a tedious process; additionally, there is a high risk of making an error without a simple possibility of rolling back, which is unacceptable in many projects.
To solve this, there are multiple deployment automation tools, but the one we are going to talk about today is Deployer
This type of tool (Deployer is no exception) uses a git repository as the source of the code (we can use github, bitbucket, etc.), so first, we must ensure that the destination server has access to that repo, which we usually do using a public/private key system that guarantees access to the repo.
Once we have access to the repo from the remote server, we install Deployer on our local machine and configure the server connection parameters in the deploy.php file.
It is important to note that it is possible to set up multiple environments, for example, if we have a development or staging environment before sending to production.
Once Deployer is configured, we would simply run:
dep deploy prodand with this, Deployer will take care of putting the modifications we made in the repo into production in a matter of moments. By default, it will store 3 deployments, so if there is any problem during deployment—for example, a code error that we overlooked or something that doesn’t work on the server—with a simple:
dep rollback prodWe will return to the previous state, all within a few seconds.
Deployer works based on a recipe system; in fact, deploy itself is a recipe. This allows us, for example, to create a recipe that creates our CMS configuration file on the production server with DB credentials and other server-specific configurations, as I assume that file will not be in your git repo for obvious reasons.
We can also specify shared directories, which will be directories where user images and resources are usually stored and should not be in the repo—for example, the wp-uploads directory in Wordpress or files in Drupal—so that they are linked in each deployment without needing to copy them.
In another post, I will explain how to create a recipe, for example for Drupal 7, that allows us to configure settings.php or download the files directory locally.
If you want more information about Deployer and how to get it running, you can consult its documentation